Support Home » Rebudget » Getting Started
Rebudget Getting Started Guide
Last Updated March 30, 2020
Rebudget is a Mac app that is designed to help you plan and forecast your household budget and personal finances. It is not meant to be a literal mirror of your bank statement - there are other apps out there that already do a great job of tracking every transaction you make. Rebudget is not one of them.
Instead, Rebudget’s primary purpose is to let you sanity check and get a broad overview of your budget into the future to ensure you’re on track to meet your financial goals. You can adjust transactions on the fly and see how it effects your account balance over time. You can also create a brand new budget or duplicate your existing one and compare them side-by-side as you make changes and plan for the future.
Everyone handles their money differently. Rebudget was initially built to help me with the way I specifically manage my family’s finances, but I’ve heard from lots of customers that the app is useful to them as well. You can use Rebudget in any way that works for you - it’s quite flexible. Below, I’ll describe Rebudget’s main features.
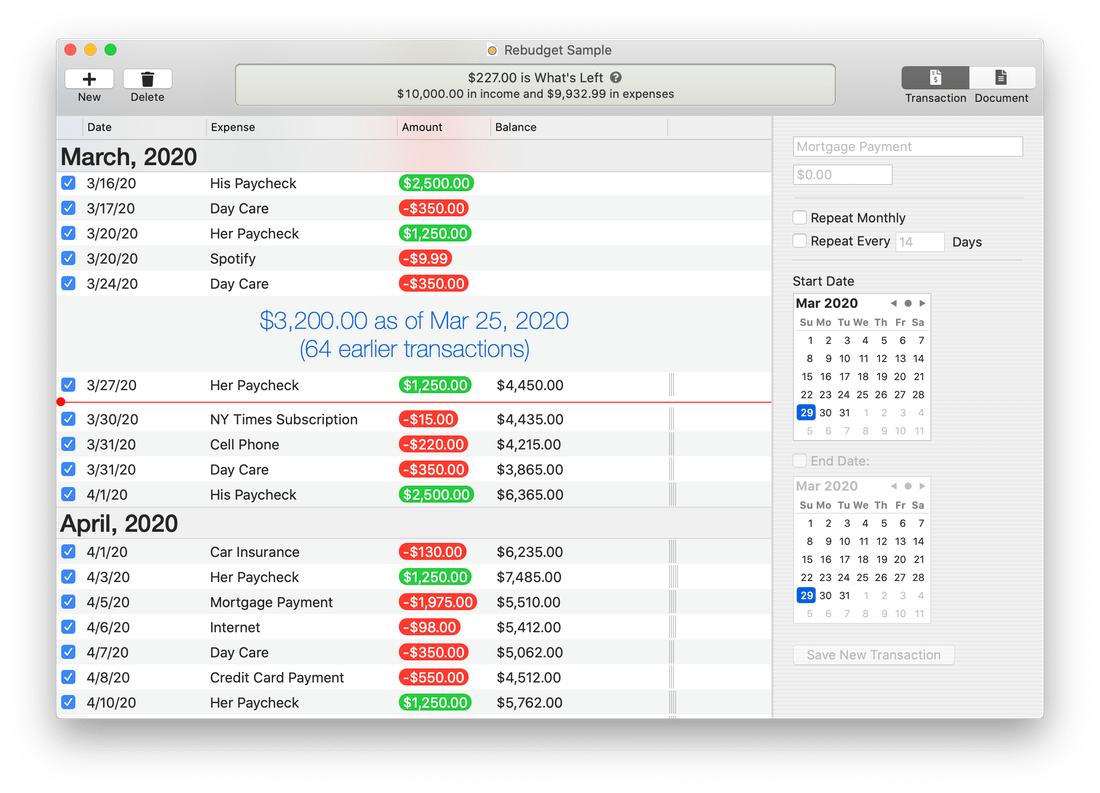
Transaction History Table
I’ll start by pointing out the different features of the budget window. There are quite a few UI elements that I’ve added to help make your budget more “glanceable” and easy to work with, but aren’t immediately obvious. (Which is the point of this explanation.)
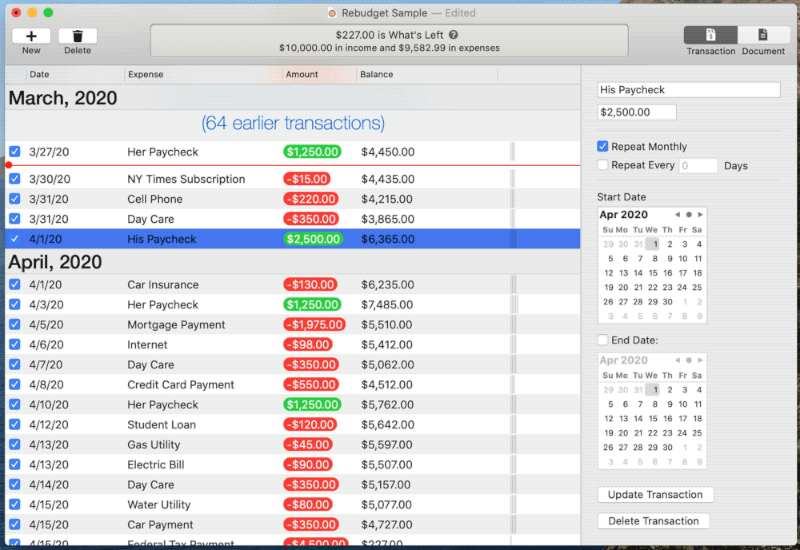
The budget window’s primary area is the large table of rows listing your income and expenses ordered by date. Each row has six columns. Look at these two rows:
The first row is a monthly car insurance payment. The second row is a paycheck. From left to right, the six columns are:
- A checkbox that turns the transaction on and off. A transaction with a checked checkbox is calculated into your budget. An unchecked transaction is ignored. This allows you to temporarily enable or disable transactions to see how they change your budget, which will automatically recalculate itself live. Pro Tip: Hold down the ⌥ key on your keyboard when you tick the checkbox to enable/disable every occurrence of a repeating transaction at the same time.
- The date of the transaction.
- A short description (name) of the transaction.
- The transaction’s amount. Income (positive transaction amounts) will be colored green. Expenses (negative transaction amounts) will be red.
- The fifth column is your running balance. It is the sum of all transactions - including the current one - since your budget’s start dated added to your budget’s starting balance. Negative balances will be highlighted in red.
- The final column is a bar chart that shows a visual depiction of your running balance over time proportional to your budget’s all-time lowest and highest values. When your balance is negative it will be drawn in red. Positive balances are black. The size of the bar chart is relative to the balance amount. Negative values are red and grow to the left. Positive values are black and grow to the right. So, ideally, as you scroll down your budget into the future, the bar chart will be black and continuously getting larger towards the right. Like this:
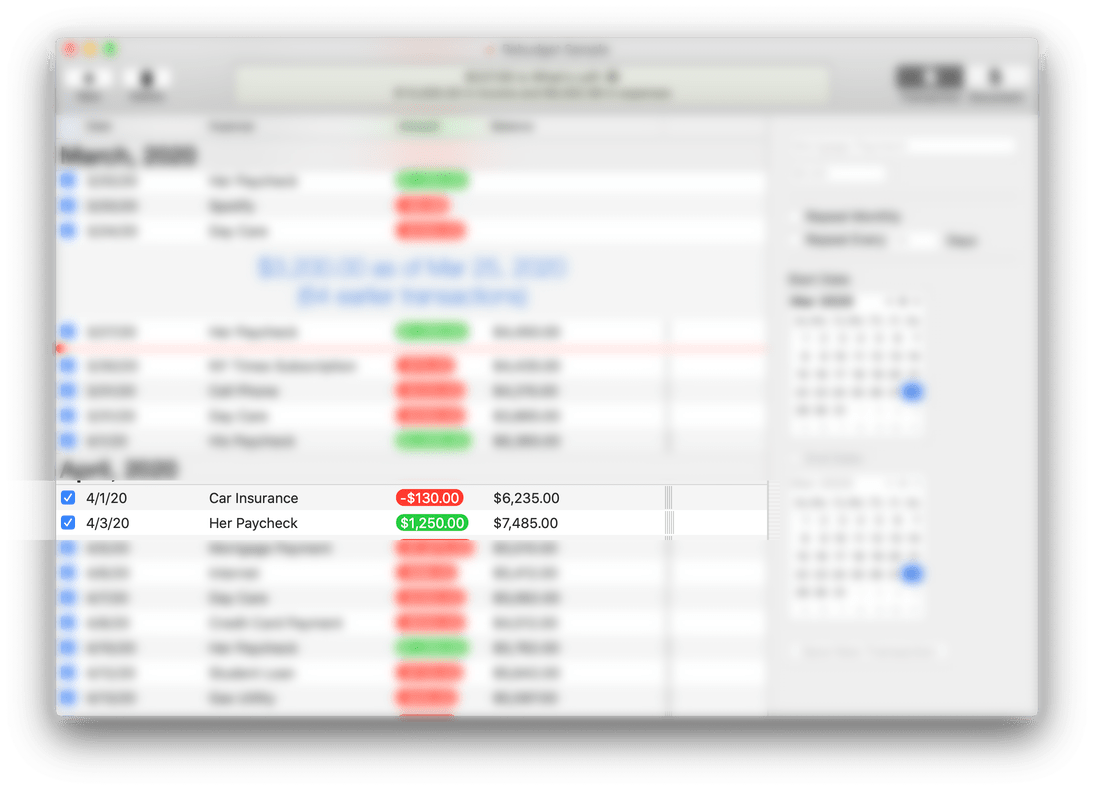
In this next example, you can see the budget is overdrawn for a period of time - likely due to an unexpected expense, but then recovers.
The budget window will also draw a red line between rows that denotes the current date. I’m writing this Getting Started guide on March 28, 2020. In the screenshot below, you can see the red horizontal Today marker positioned between transactions on March 27 and March 30.

Pro Tip: Press ⌘T on your keyboard to automatically scroll the transactions table to the current date.
The background color of each row in the budget can have a special meaning as well.
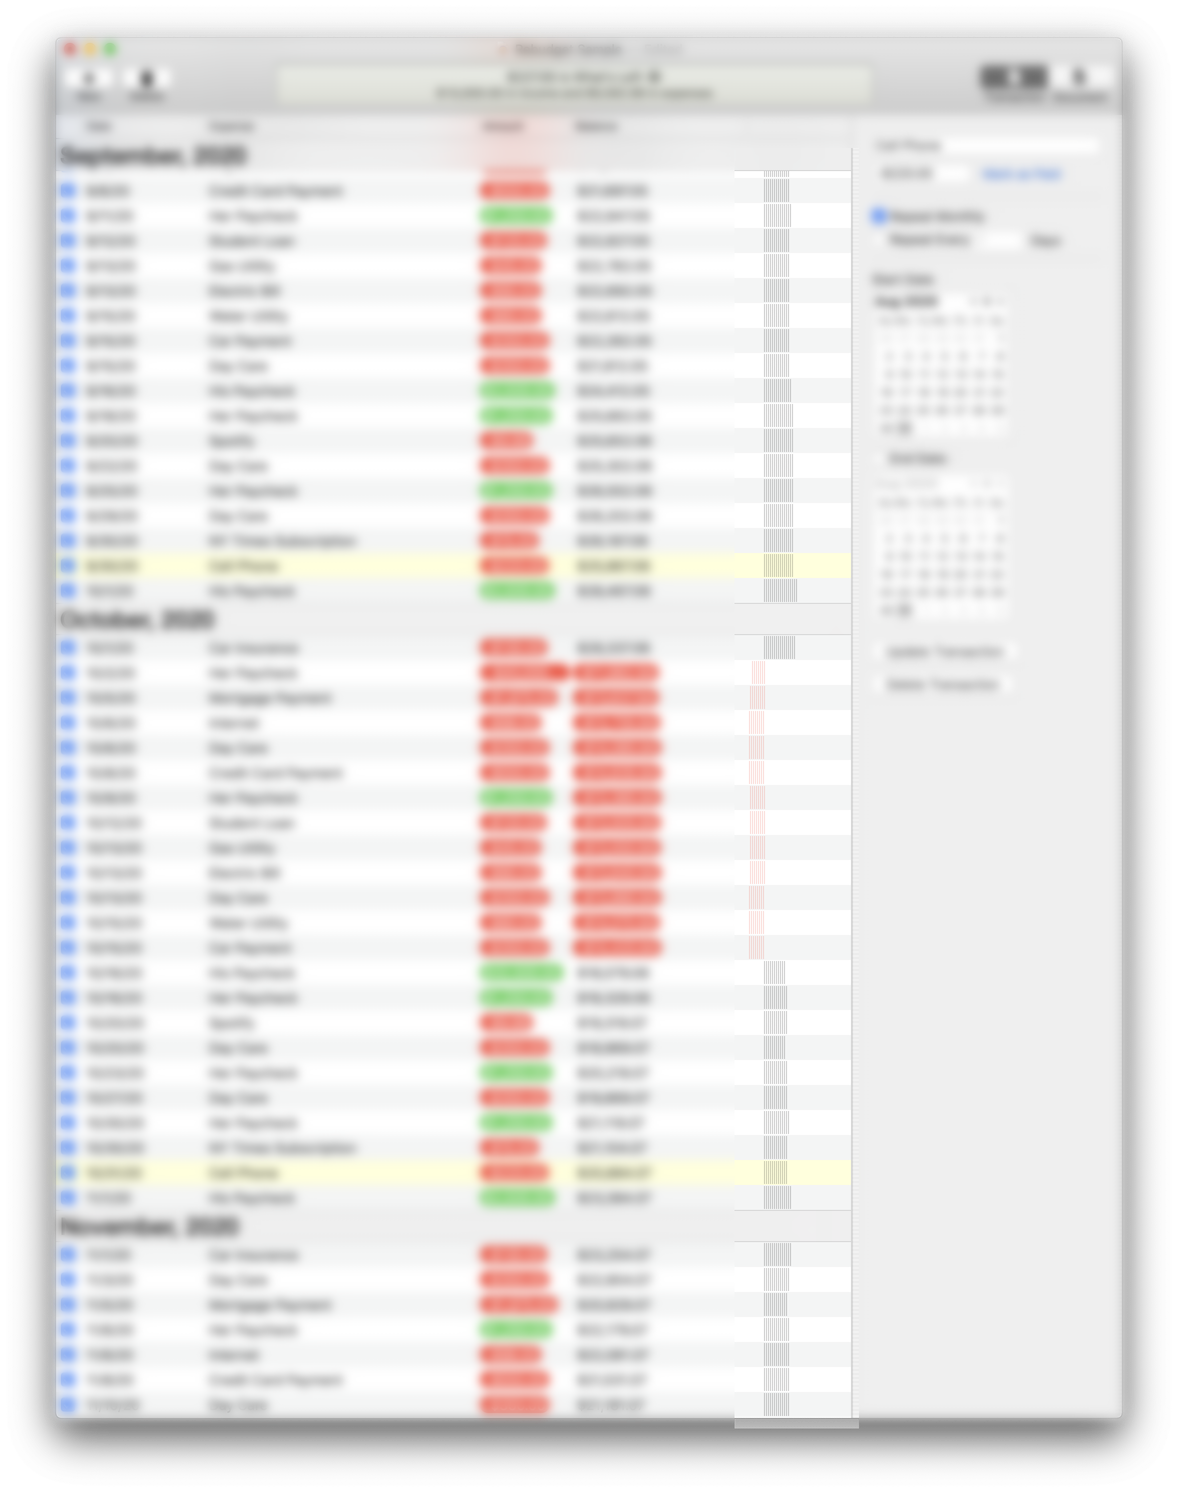
Related Expenses: As you move through your budget, if you select a row that is part of a recurring transaction, the other occurrences will highlight. In the animation below, you’ll see that when the weekly “Day Care” expense is selected, the other ones are highlighted.
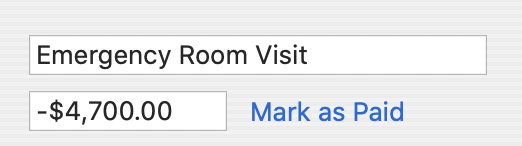
Low Balances: Each budget document can have a low balance threshold set. If enabled, Rebudget will highlight in pink any time the running balance dips below the amount you specified. In the screenshot below, there was an unexpected emergency room visit which caused the balance to fall below the $1,000 threshold set in the budget settings on the right (outlined by a red rectangle).
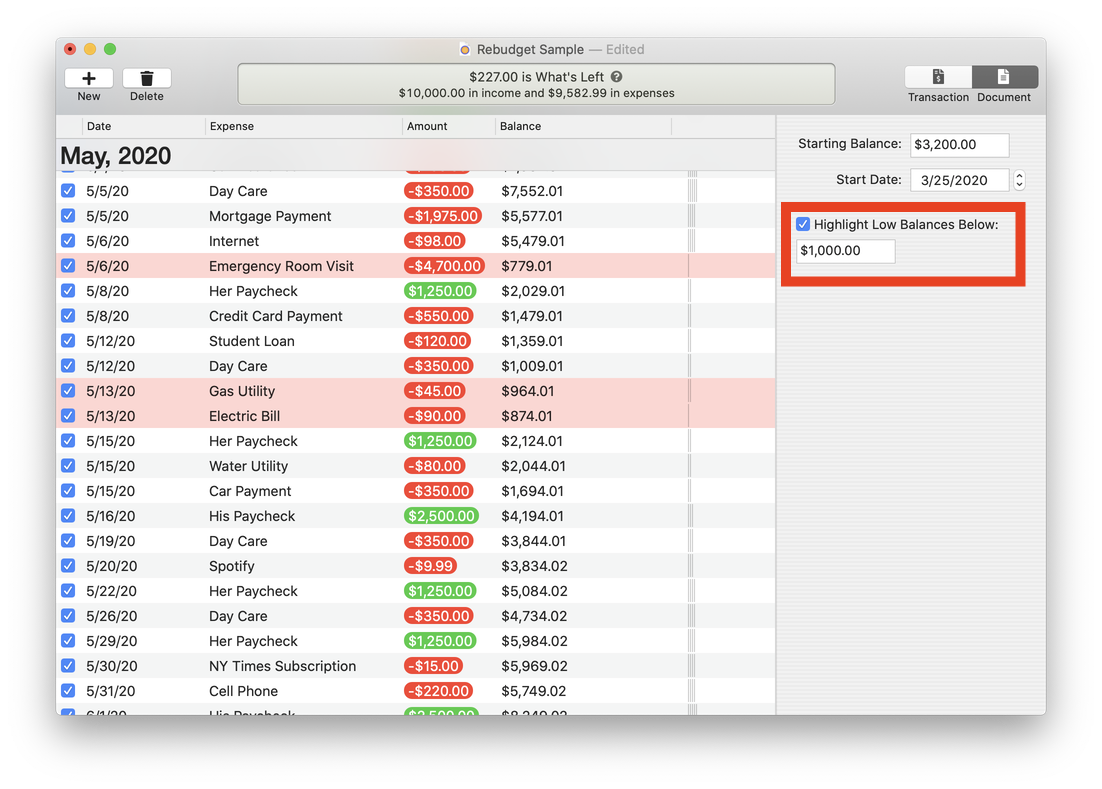
I want to point out that even though the running balance fell beneath the low balance amount, it did not go negative, which you can see because the running balance column and bar chart decreased but remained black. If the large medical bill had caused an overdraft, those would have been red.
Sidebar
On the right side of the budget window is the sidebar. It can switch between two things:
- The details for the currently selected transaction (or the details of a new transaction you are adding).
- The settings for your budget document.
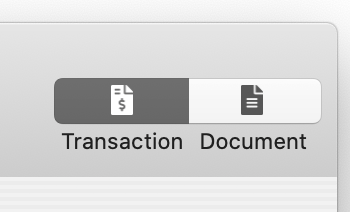
You can change between the two modes by using the toggle buttons above the sidebar in the window’s toolbar.
Transaction Details
The transaction details area is where you edit the details of new and existing transactions.
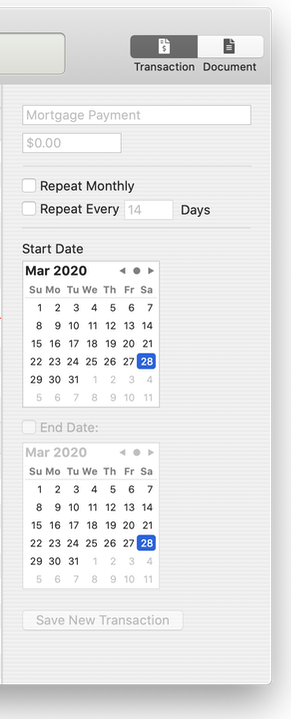
The first field is the name of the transaction.
Beneath that is the transaction’s amount. For income, enter a positive value. For expenses, type a negative value beginning with a negative/minus/hyphen “-“ character.
It is not necessary to type a currency symbol such as $, €, £. However, if you do, that’s OK. It is also not necessary to add the decimal part of the transaction amount if the value is a whole number.
The Start Date calendar allows you to assign a date to a transaction. The date should correspond to the actual date the transaction occurred, i.e., when the amount entered or left your account.
For repeating transactions, an End Date can be specified but is optional. Repeating transactions with an end date will recur up to and including that date but not beyond. Recurring transactions without an end date will repeat indefinitely.
The repeat settings for transactions are just above the start date.
- Transactions can repeat on the same day every month as defined by the Start Date. If a transaction is set to repeat on the 31st day of the month, but future months have less than 31 days, the transaction will recur on the last day of those months instead. (This applies to February and its 28/29 days as well.)
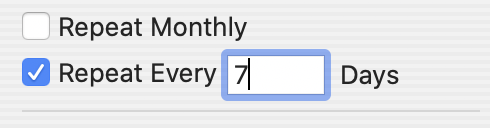
- Transactions can also repeat every N number of days from their Start Date. For example: we make a payment every Tuesday to my daughter’s daycare school. To do this, I added a new transaction on a Tuesday and set it to repeat every seven days.
Pro Tip: If a repeating transaction needs to skip a recurrence, you can simply uncheck the row for that specific date.
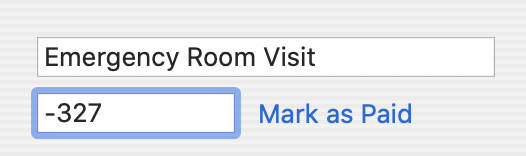
Existing transactions will have a “Mark as Paid” link next to their amount in the sidebar. Click this to set the date the transaction was paid. This date is intended to be different than the date of the transaction itself.
Example: our electric bill is due the 13th of every month, but we receive our bill each on the 28th of the previous month. So, usually the following weekend, I’ll schedule the bill to be automatically paid on its due date. So, the transaction date would be the 13th (when the money leaves my account) but the Paid Date might have been the 2nd. This is simply a small feature to help you keep track of which bills have been paid and when. Expenses that have been marked as paid will have a small checkmark next to their amount in the transaction table.

Pro Tip: Hover your mouse over the checkmark to see a tooltip of the date when the expense was paid.
Document Details
The Document Details in the sidebar has two main settings that work together: your budget’s Starting Balance and Start Date.
Your budget’s running balance over time will be calculated based on the starting balance from the date you set.
An important behavior of how Rebudget works…
By default, if you have transactions earlier than your budget’s start date, they will be hidden and will not be taken into account when calculating your budget.
You may be asking, why would I have transactions before the start date?
Well, say you start your budget on January 1 and add everything for that month and the next. Come March, you can re-adjust your budget’s start date and starting balance to reflect the reality of your bank account on that date. It’s good to do this! Real life never follows even the best of plans, and the same thing goes for your budget. You should re-evaluate your budget as frequently as you want to help you plan and stay on track. I do our budgeting every Sunday morning, and always update my Rebudget document to reflect that.
The point of this is to say that past transactions are hidden by default because they don’t matter as far as Rebudget is concerned. Rebudget is for forecasting your financial future, and so that’s what it concerns itself with. That said, you can choose “Show Past Transactions” from the app’s “View” menu if you’d like to see them. They’re always available for your reference.
Status Box
The last major piece of the budget window is the Status Box:

The purpose of the the Status Box is to alert you to important details about your budget.
By default, Rebudget will calculate and show your What’s Left amount. In a nutshell: What’s Left is exactly what it sounds like. It’s how much money over the next 30 days is remaining in your budget after taking your income and all expenses into account.
Some budgeting systems, such as YNAB (which is wonderful!), require that you put every expense into a bucket or category in advance at the start of the month. That’s awesome if you can do that and then stick to it, but I never could do it. So, with Rebudget, I…
- Add all of my income (paychecks + freelance income)
- Add all of my known, recurring, and fixed expenses such as utilities, mortgage, entertainment subscriptions, as well as gas and grocery estimates, etc.
- Not put into the budget are miscellaneous expense that I know will happen each month but don’t necessarily want to pre-assign an exact amount to. I just want to know “what’s left” in my budget so I know over the next 30 days how much I have to spend.
Bingo. That’s “What’s Left”.
The Status Box will also alert you about upcoming problems, such as a future overdraft.
